


Germinating shelf project
Ever wondered how arrange your plants and where to germinate your plants?
Here's the perfect solution which saves you a lot of space and will keep your precious seedlings and plants in a safe place.
First, get yourself a appropriate shelf and lamps for this purpose. Generally, any shelf will do, I chose a cheap whooden shelf which is ideal size for my germinating trays.
Then, choose lamps which fit your shelf perfectly. At the early growing stage,fluorescent tubes, or powerful leds are ideal.
For now, led strips are not powerful enough to provide wnough light.
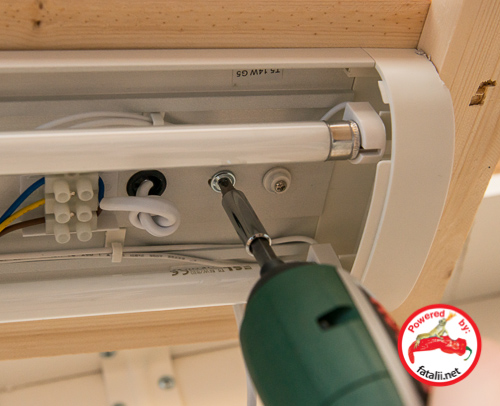
Think how it would be wise to attach the lamps to your shelf. I got a wooden shelf because I simply attach the lamps with screws.
Okay, let's get started!
Here's the spot I chose for my germinating shelf, in this temporary office room, there is a spot with some space available.

You really don't need much space to make this project happen. You will actually spare a lot of space from your desks and windowsills.
Here are al the equipment and tools needed for this project. This is very simple and quick project to do!
And you will thank me later, at least in your mind! :)
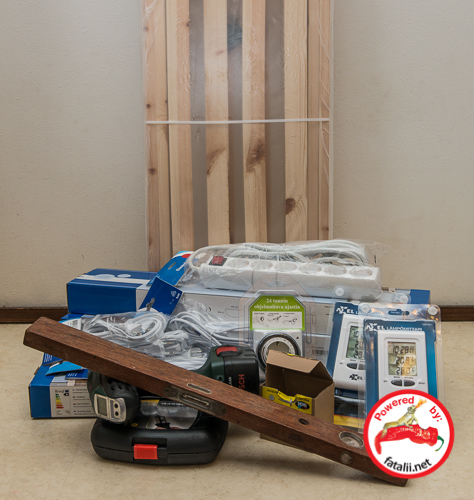
Equipment
- the actual shelf as bough in a package
- lamps
- cords for the lamps (if not included with lamps)
- extension cords, enough for lamps and heating pads (if used)
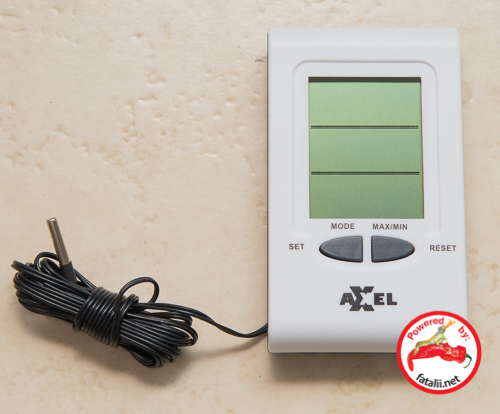
- temperature meters (with external sensor on a wire to measure the temp in germinating cube)
- timer (to set the lights on/off when needed. 8-18h of light is good amount)
Tools
- cordless drill
- screws
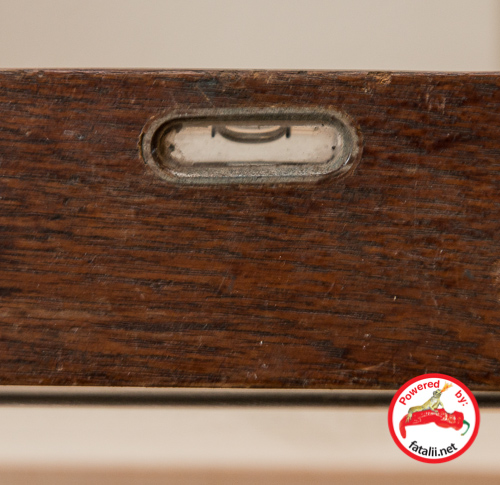
- spirit level (to keep the shelves in level)
Lamps
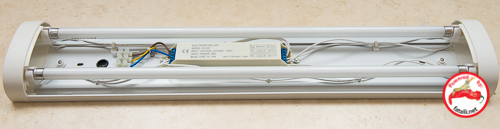
I chose lamps with T5 double tube to give enough light for my seedlings.
This lamp supports either 14W or 28W tubes which will be great for tiny seedlings!
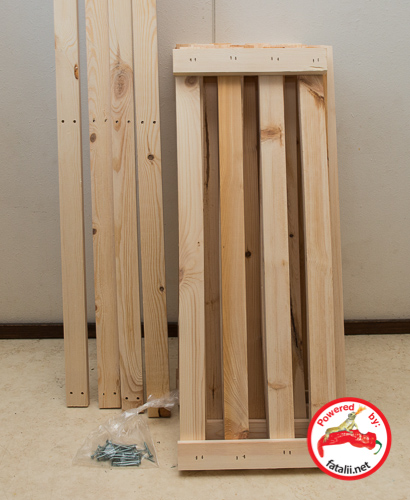
Here's the wooden shelf in it's package:

This one is cheap and quite weak frankly, but it will be attached to wall to prevent any horrific accidents with germinating.
Here's the package opened. shelves on the right and body on the left.
I got two separate thermometers with a outdoor sensos on a cord.
One for the upper shelf and one for the lower shelf. The sensor will be placed inside one germinating cube to get the actual temperature reading.
Ok, let's continue.
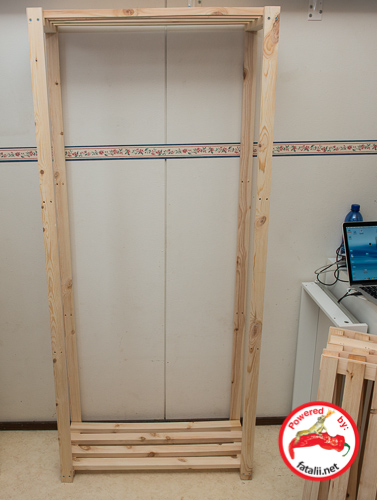
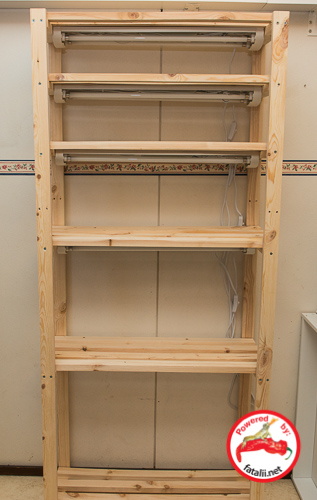
First I attached the body of the shelf to one shelf on the top and one on the bottom.
After this, it's easy to attach the rest of the shelves.
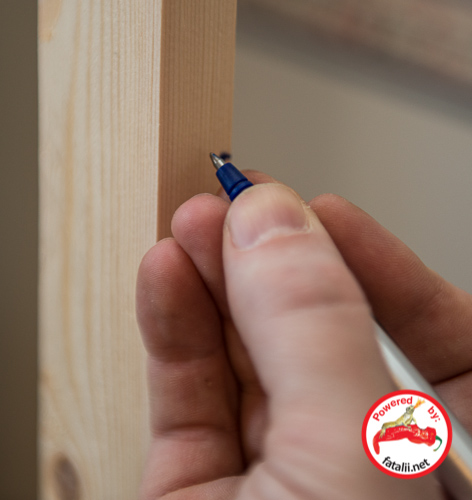
Then, it's good to carefully measure and plan the heights for the growing shelves.
I like to have the germinating trays in the bottom and when the plants germinate and grow, they will be moved to lower parts where there is more space for the plants to grow.
Ok, let's attach the shelves, do level them carefully to prevent uneven spread of the water in germinating trays.
I used an old faithful spirit level which is at least 5 decades old. :)
Before attaching all shelves, make sure you'll be able to attach the lamps underneath the shelves if you're going to screw them.
If you use other methods to attach the lamps, you don't have to worry at this for now.
Just make sure the way you use will hold the lamps, and NOT to fall on the germinating seedlings, that would be horrible. :(
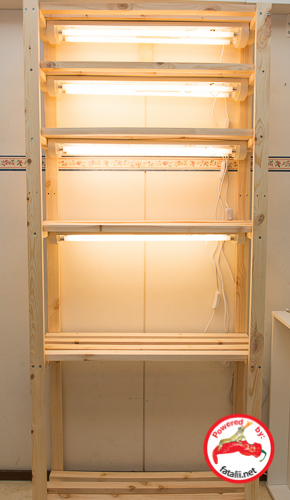
And here are all the lamps attached to shelf. It's starting to look good!
And now, it's time to attach the shelf to the wall, just to make sure it won't fall down in any point of the germinating and growing process.
And then, let's turn on the lights!
Looks great! We are almost done here.
Attached the temperature meters for ideal germinating.
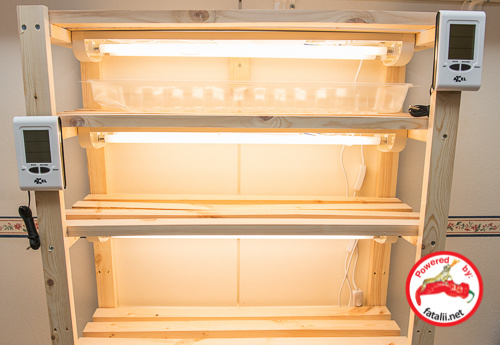
It's all done!
Very simple task and it will save you a lot of space and nerves.
I will put heating mat under the germinating trays for the best germinating results.
It's time to start choosing the varieties to be germinated, fun stuff! :)
Get ready to start your own project by ordering the seeds here: https://fataliiseeds.net
Here's an article about germinating: https://fatalii.net/germinating
Please drop me a line to fatalii AT sci DOT fi for any questions or comments.