Fatalii’s Guide for Growing Chile Peppers
Step one: selecting the varieties to grow.
Select the varieties you want to grow.
With Capsicums there are plenty of choices which makes the whole phenomenon even more interesting!
You can choose from thousands different varieties: among them there are several ornamentals, hot pods, mild pods, heatless pods, large pods, tiny pods, thick pods, large plants, small plants, wild plants, cultivated plants… you get the idea…
Lots of colors and shapes to choose from!
You can find plenty of different varieties to start with from here:

https://fataliiseeds.net
I always select some new varieties to find more favorites and to keep the interest rate high with growing.
Of course, I germinate some old familiar & faithful varieties along with the new ones to make sure the harvest will be satisfying all season long.
Start early!
Especially when growing at cold climates, the season is usually too short anyway so it’s better to be too early than late.
It’s good to remember that when it comes to amount of the light; one day during the springtime equals three days in autumn!
Then again, starting too late is actually starting very early for the next season. 🙂
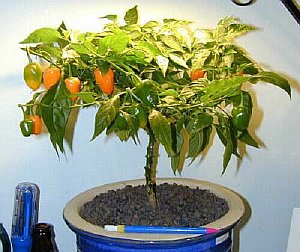
Or, you can grow Bonchis (Bonsai chiles) and you don´t have to care when to start!
Step two: Germinating!
There are many different ways to do this, but I’ ve succeeded well with all kinds of varieties with the following method:
I use this kind of germinating box (or similar) like in the picture below:

After selecting the varieties, label the trays with the variety names.
I prefer using rockwool cubes or oasis, they are the most clean ones to use and result in best germinating percentage when ideal temperatures are used, Tiny maggots, mold and other problems are much more common when using soil.
Of course, you can still use soil. I highly recommend peat-based (NOT RAW PEAT but growing peat with pH around 6 or so), clean commercial soil, or some other commercial mildly-fertilized soil is recommended.
I’ve used the peat-based soil with most successful germinating batches for last couple of years.
Fill the germinating trays with soil (or peat-based soil), rockwool or oasis, and water the trays first time with boiling water (before planting the seeds!).
When the soil has cooled down a little bit, it’s time to sow the seeds!
I use match-stick, pen etc. to make some small holes into the soil (just few mm deep). This also works with oasis.
This is not necessary, just covering the seeds with a thin layer of soil is enough to do the job properly.
Then I put the seeds into the holes and cover them with some soil.
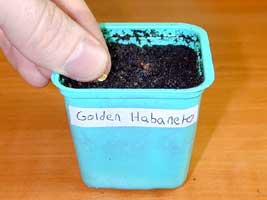
If using rockwool, there are usually small holes in them which maintain the high humidity level, Just drop the seeds there.
Sow extra seeds and save only the healthiest and most vigorous seedlings. I usually sow 3-5 seeds and keep a seedling or two myself. The rest of the seedlings will be given or thrown away.
Chile plants are a perfect gift, especially when it comes to leftover plants. 😉
Always make sure you’re sowing the correct variety into the corresponding tray.
Sowing the seeds into wrong trays can be irritating especially if you’re growing new varieties and don’t know how they should look like.
When all the seeds are sown, close the germinating box but leave some air vents to make the air flow properly thru.
When germinating exotic and wild varieties, temperature is very crucial.
Heating pads or towel-drying stands work very well with germinating box.
I use digital temperature meter with outdoor sensor placed into the soil, not too deep, just around where the seeds would be.
It’s good to place the sensor in a tray which is located at the center part of the germinating box to give you a good hint of the average soil temperature.
Ideal temperature for germinating exotic varieties is between ~27-29 degrees (celsius).
A fellow chilehead was kind enough to build a thermostat for me that keeps
the temperature strictly 27-29 degrees celsius, works very well!
Gladly, commercial heating pads usually have integrated thermostats to keep the temperature steady.
After around a week or two you should see the first varieties sprouting!
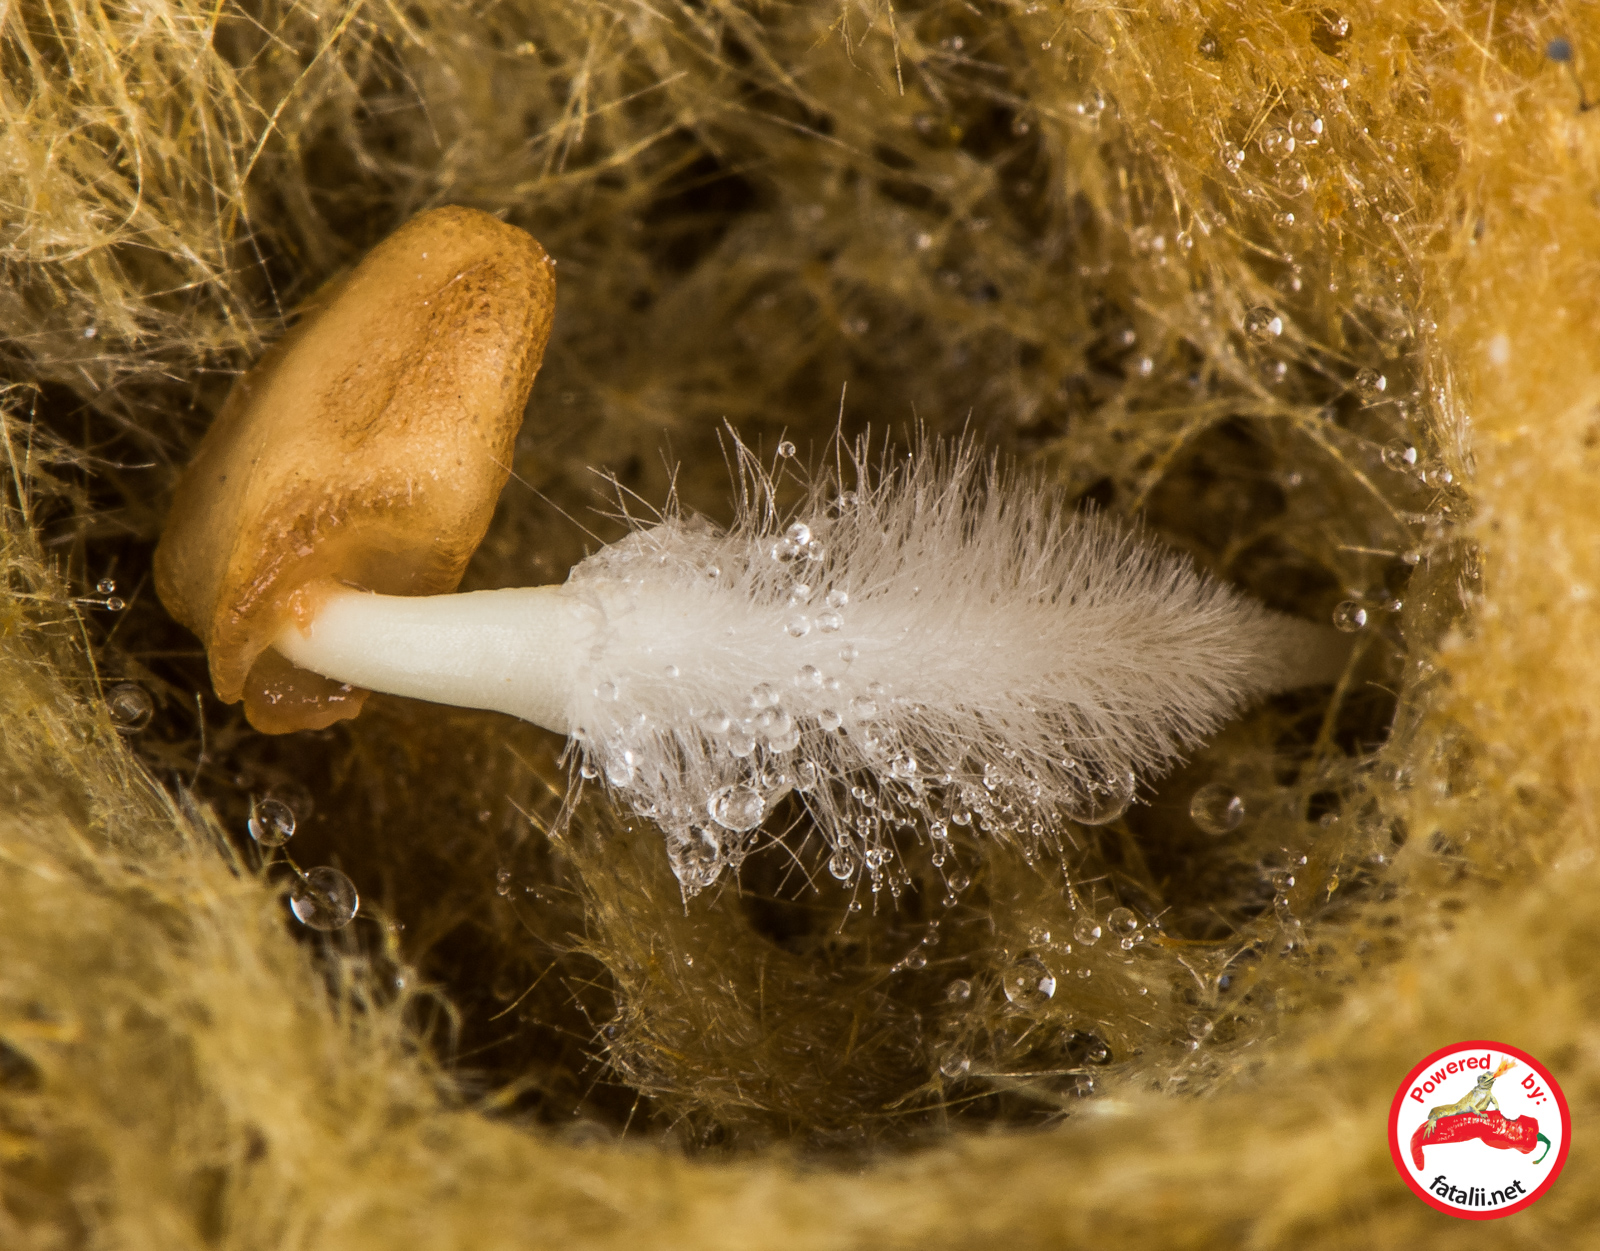
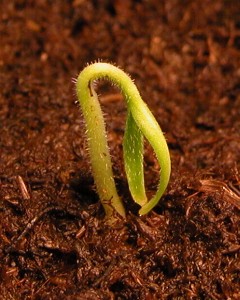
When the first seedlings sprout, move the trays under a fluorescent tube or on a windowsill with plenty of light, still, keep in mind that small seedlings are very sensitive to a strong sunshine.
Good distance between the fluorescent tube & plants top is around 5-8cm during the first two weeks and, and 2-4cm later on (shorten the distance gradually).

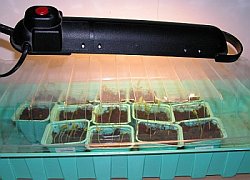
If you have a very sunny windowsill, you can use that too, especially morning sun is very
effective for chiles. (Be careful with the small seedlings!)
When the seedlings have emerged, pick off the weakest plants and separate them into invidual small pots.
And again, be careful with the labels, don’t try to remember them if you have several different varieties growing, because after a while you will definitely forget what they were.
Get your growing lamps from here!
Step three: Growing seedlings
|
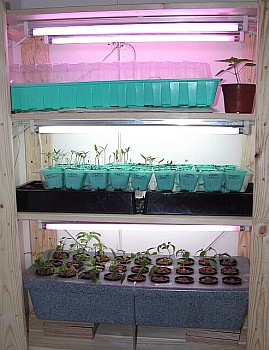
For a good growth and production, a plenty of light is needed. At this point it’s good to use cool or warm(ish) spectral color fluorescent tubes or a mix of them (or fluorescent bulbs). Here’s a link to a perfect example. Here’s another example. It’s possible to use only sunlight when there’s plenty available, at some places, extra light is needed for proper growth. |
 |
 |
When moving the plants closer to fluorescent tubes, I add a fan to cool the tubes off and strenghten the young seedlings. Fan also helps moving the air, which is very important when growing indoors where the air won’t usually circulate effectively, unless you have a very effective air-conditioning, but I’d still use the fan. It also makes the bigger plants stronger, so they won’t break too easily and they can bear more pods. Very important addition especially for indoor growers. |
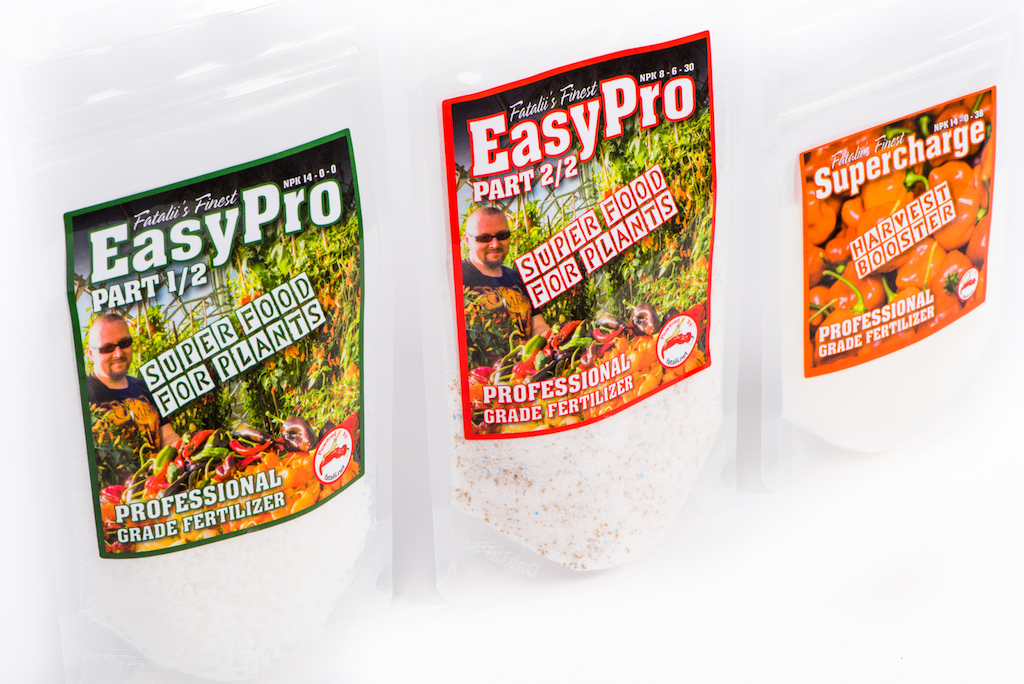 |
When you have separated the seedlings and they have grown some new roots, apply some mildly diluted fertilizer. Fatalii’s Finest fertilizers are perfect for chile pepper pod production. Over the years, I have been working with dozens of different fertilizers and I wasn’t happy until I made my own recipe of fertilizers – Fatalii’s Finest series. With traditional soil-based growing it results in best yields and the best taste. |
Before the plants have reached the size that is big enough to carry enough pods for your needs, stop adding the fertilizer, or add some more harvest booster.
Overall, it’s good to fertilize very carefully, less is always better than too much, because when growing in soil, adding is easy, removing is not.
Keep in mind that nitrogen based fertilizing grows leaves and foliage, not pods!
I’ve acquired best yields indoors with a more subtle fertilizing in overall.
In the greenhouse it’s possible to fertilize much more to get bigger plants that bear more fruit, but in that case you have to remember that it will extend the growing season whole a lot, and the season must be very sunny to make the season succesful.
In worst case the proper bearing will delay so much that in some countries you can easily run out of time, so go carefully with the nitrogen.
As a rule of a thumb: fertilize when there’s plenty of light available for the plants.
Don’t fertilize at all when the plants have been overwatered, dry them first.
Most chile-peppers like more dry than a wet soil, and they respond to optimal watering by growing quickly and with healthy looking foliage.
Over-watering usually causes root-problems which often turn leaves yellow
and/or cause stunted growth.
Beginners tend to overwater the plants very easily.
It’s good to remember that on the average, peppers like the soil a little dry.
If you don’t have much light available, keep the plants quite dry all the time.
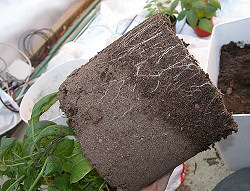 |
Even the soil is dry on the surface, it can be moist enough deeper. |
Here are some great affordable fabric pots for chile pepper growing.
Very important thing is the method of proper repotting; change pots progressively to maintain healthy growth.
After some time, you will learn to see when your plants need repotting, it varies very much between different varieties.
If the seedling is a big enough for the final repot when the season is still early, it’s a very good chance to get a big yield before the end of the season.
Step four: Hardening-off the plants
When the main growing event will happen outdoors or in a greenhouse, it’s often necessary to harden-off the seedlings for the strong sun and extreme weather conditions.
When weather is cloudy, it’s good time to start hardening-off.
At first, it’s good to keep the plants out just for short periods of time, and away from the direct sunlight.
Leave the plants out for for a little longer each time.
And after that repeat the same thing with direct sunlight.
I have succeeded best using lace-cloths with the hardening-off process.
There are big differences with different varieties with hardening-off so it’s impossible to tell how long it’ll take, but usually it varies somewhere between 2-4 weeks.
Same thing with amounts of lace-cloth, for some varieties, one layer is enough, and some fragile ones like 3 layers depending of the material of the lace-cloth!
It’s good to decrease the amount of layers after the plants get over the first shock.
When the timing is right with the lace-cloths, the plants won’t be shocked
at all by the strong sunshine.
That’s why using lace-cloth with hardening-off is something that I really recommend.
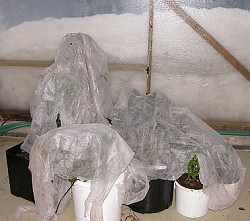
For some varieties, it’s good to leave one layer of lace-cloth for a long time, sometimes for the whole season -> it still gets enough light, it’s just shaded partially and that’s the way some varieties like it the most, for example many varieties from the C. chinense -species.
Before the flowering stage, the size of the pot (any container will do!) should be large enough for the plant to produce a big yield.
The rule of the thumb is: the larger pods the plant will be producing, the larger the container should be.
I use only small pots for ornamental plants, it’s not necessary to get many pods from those, besides, smaller pots with ornamentals look better!
Bonsai growers can also try smaller pots with other varieties too.
Instead of the big yield the main goal will be the challenge of growing pretty bonsai peppers! 🙂
Step four: Flowering
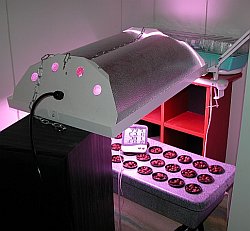
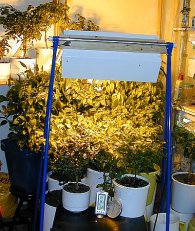
If you’re growing indoors or want to provide longer days in the greenhouse, use a warm spectral color lamps like fluorescent bulbs or tubes with yellow, red or purple color. More effective methods are LED lamps and even HPS lamps. HPS lamps can consume a lot of energy so it’s good to know before you get your electricity bill later.
When buying LED lamps, remember that there are MANY shitty brands out there so be careful. Some are enough just for growing but definitely not for flowering. Some are bad even for growing. LED market is huge in the world and there are shitty LED lamps in shelves around the world (mainly in china) which has to be sold first…
Flowering stage requires MUCH more light compared to vegetative stage.
 |
 |
| Nurturelite Fluorescent purple 125w |
High pressure sodium vapor 600w |
When the plants start flowering after branching, its’s very good idea to start pinching off the flowers to optimize the pod production. If you’re growing ornamentals and you don’t need too much yield, you can let them flower immediately. Or with some plant, if you don’t wait for any longer, you can let them flower at this point. Just keep in mind that you get less yield this way.
Picking the early flowers is recommended method especially when grown indoors.
That way, the plant will maintain the growing stage and will grow much faster until the picking of the flowers is stopped.
After that, the plant should be a big enough to produce satisfying yields if there’s enough light and space for roots to grow.
Remember: the growth will still continue even the plant is flowering, even it’s not as effective growth as before.
When the chile plant is flowering, don’t let the soil dry off totally or the blossoms might drop off. On a side note, do not overwater the flowering plant either.
Before the flowering start, you can dry out the pot first to encourage flowering. There’s also a great way to start flowering whenever you want, Topmax!
Step five: Producing yield!
Soon after flowering, tiny pods can be seen forming after the corollas of the flowers wilt and drop off.
It’s normal that some of the flowers drop off with the pedicels, if the flower drop continues, there are several possibilities what might be wrong:
- light conditions are poor, flowering requires PLENTY of light, provide more light if possible
- overwatering or too dry soil, decrease or increase the watering a little depending on the cause
- too much nitrogen in the soil, prevent this from happening early, excessive nitrogen can be flushed away by running water thru the pot SEVERAL times. Sometimes it’s impossible to get off the excessive nitrogen, so be extra careful when applying fertilizer! The harvest might be delayed for several months, in worst case even a year! (it’s even possible to kill the plant with overfertilizing.)
- too high or low temperature causes flower drop, especially night temperatures are crucial, correct the temperature problem if possible.
When the maximum amount of yield is maturing on the plant, the flowering ends, or it will be very subtle.
Things that have an effect to fruitset are:
- amount of light
- the size of the pot (roots need a lot of space for a decent crop)
- watering
- temperature
- ratio of the nutrients in the soil
Step six: Harvesting!!
For harvesting, I’ve used a method called “staggered harvesting” which means that the pods are being harvested constantly to keep the plant setting pods all the time.
This is ideal if you want to have fresh pods available as usual as possible, it’s not as ideal if you want to have beautiful plants with lots of pods on them once.
With staggered harvesting it’s definitely possible to achieve much more yield from each plant compared to normal producing & harvesting.
So how does it work?
Just keep picking the largest pods from the plant, preferably largest immature pods to keep the plant flowering heavily.
Some varieties become stimulated and start producing pods at amazing speed!

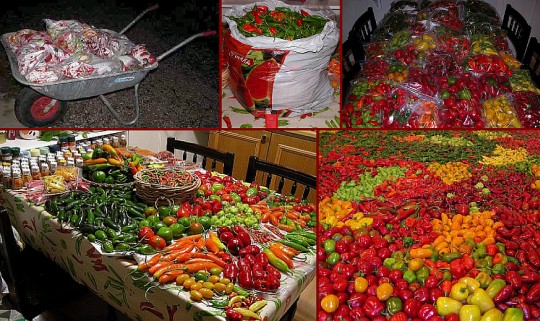
When chiles are treated well, they will reward a long seasons toil very generously.
That really makes the whole madness worth all the work!
Don’t just grow the plants, let the plants grow you. 🙂
Seeds:

https://fataliiseeds.net


