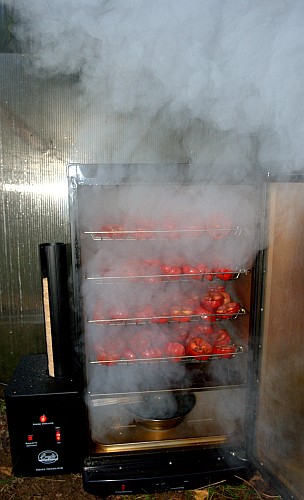
Smoking chile peppers with Bradley smoker
After using all kinds of smokers for chiles for several years I was very happy to finally find smoker that is a pleasure to use, easy to maintain and which is just large enough for personal use.
Let me tell some more about it!
After seeing first how decently it was made,
I immediately had a feeling I really need it for my own yield.
After getting it home, I was over-excited, almost drooling around the floor when opening the package.
Why? Simply because I had wasted so much time with all kinds of crappy compact smokers.
So far getting good quality smoked chiles with compact smokers has been a pain in the ass.
This system really saves you time, nerves, chiles and provides plenty of culinaristic moments for your future!
There’s a huge difference with smoked chiles.
I have been horrified by the some industrial-made “smoked chiles”… they really spoil the reputation of good quality smoked chiles.
Anyway, more about the drooling on the floor, one cause for that is this:
I had a nice basket (5 kilos) of almost over-ripened Red Peruvian Rocotos which are extremely tasty and juicy for trying out the smoker!
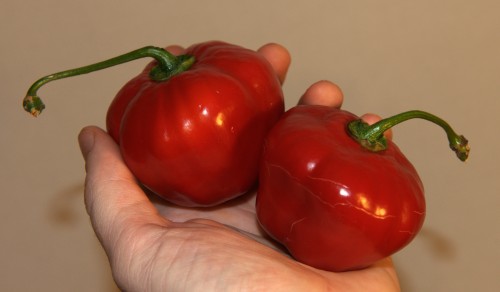
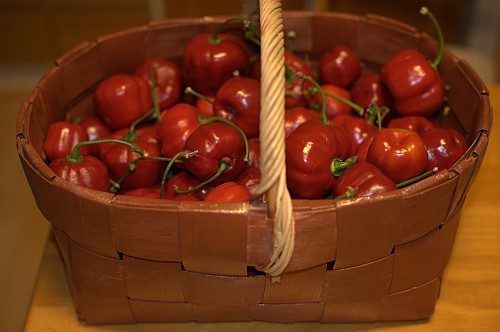
I had a clear plan for smoking this rocotos.
Usually it takes a loooonoog time to smoke chiles with rather low temperatures.
With this smoker, you can have some really dense smoke to give the best flavor possible for your own chiles in a very short period of time!
Okay, let’s take a look at the smoker!

The two main parts, the cabin and the briquette feeder are put together on the pic above.
It’s very easy to attach and remove the briquette feeder,
just place it on the side of the cabin, no tools needed! This will be practical later!
As you can see, it looks very good and feels firm and decently-made too.
It has two main parts, the smoking cabinet and the automatic briquette feeding system.
Let’s take a look inside the cabinet first:
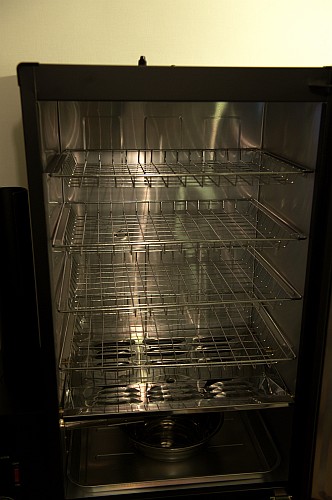
Looks very good! Inside the cabinet there are four rustproof shelves which can be washed with a dishwasher. There’s also a plate which spreads the smoke and heat (when used).
Under the plate there’s two containers, one wide one to cover the the “floor” of the cabinet for easy cleaning, and one for water where used bisquettes will be pushed automatically when smoked for 20 minutes.
Here are some smoking bisquettes to choose from:
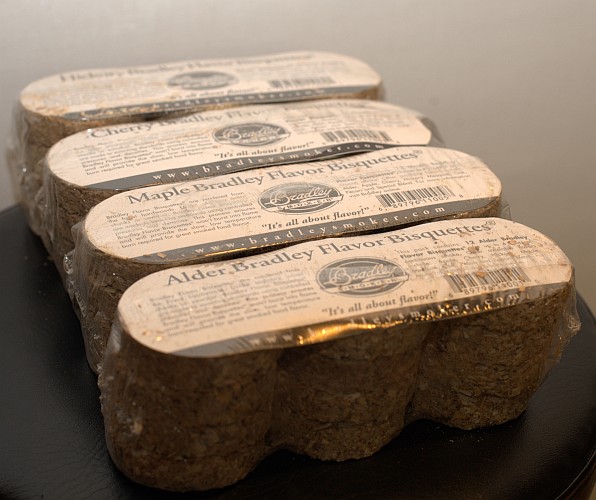
The different wood brands can give you a very different smoking aromas and it’s very fun to experiment with them!
Just try different combinations of chile varieties and wood brands and fill up your spice-rack with them!
Note: before using your Bradley smoker for the first time,
pre-smoke for one hour or so without any chiles or other stuff.
Ok. Let’s setup the system for outdoor use, here:
Let’s fill up the smoker with splitted rocotos!!
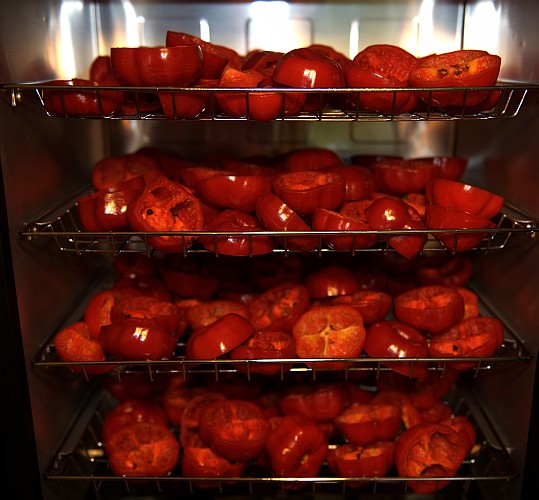
Looks great, doesn’t it? I can assure you, it will taste even better!
At this point, I will insert 5 briquettes (as seen on the picture) to briquette tower.
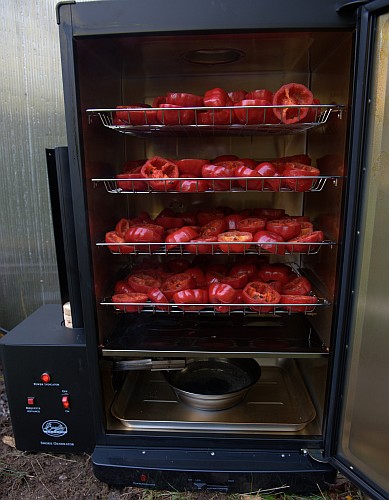
Now I will hit the “briquette advance” button three times to move the first briquette on top of the heating plate.
Then it’s time to close the door and start smoking the chiles!!

As you can see, I filled up the briquette tower. This gives me up to 8 hours of continous smoke!! Remember that the smoke will be very dense and you need to experiment with different smoking periods for different kinds of chile varieties, as they have a great differences with the size, thickness, texture and heat level. Different wood brands also call for various smoking periods.
On the top of the heating cabinet, there is a adjustable valve to control the exhaust of the smoke and moisture. I keep it open just a tiny bit until now…
After a little while, I was too curious to see what kind of smoke does it form:
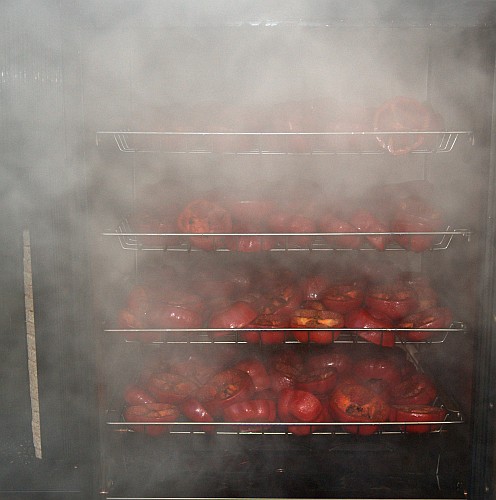
At first, it was impossible to see anything for the smoke but then I was able to take couple of pics until the wind dissolved the smoke.
Looks very promising, I was already able to tell that this is going to work!
After 5 hours of smoking, the result would have been definitely smoky enough,
but I wanted to go for the extreme.
The extreme in a way which had been impossible so far, so I added more bisquettes (hickory) for the night.
The temperature was very low all the time, this smoker is able to do hot smoking too as it has a 500 Watt heating element. I simply turned it off for smoking, but I will use it later for drying.
In the morning, I rushed to see the results and I was very amazed to see how well they had smoked with a low temperature, I never had seen anything like with my previous smokers.
This period of smoking is clearly a maximum, which was very good to see.
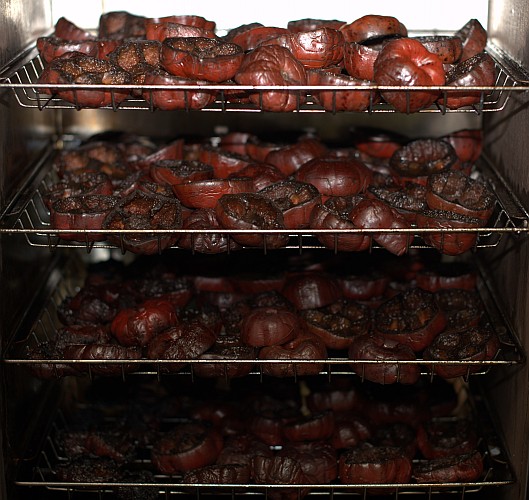
Now, the next step which is kinda neat and simple with this piece of equipment.
At this point, we need to dry the rocotos.
One reason for choosing rocotos for this task is because they are very slow to dry.
If it works with Bradley smoker, then every variety will!
I simply removed the briquette feeder by raising it gently up and pulling it away from the smoking cabinet.
Then I took a small fan which was appropriate for the briquette feeder hole.
It’s very simple to attach on the side, I will make another article about it later.
I think you can use any fan which moves enough air thru the cabinet.
I also opened the vent on the top of the cabinet and turned on the heating element inside the cabinet.
Now. as the temperature starts to raise, keep an eye on it and make sure the temperature won’t go to high. I would use 30-40C continous temperature with the air flow for must chile varieties.
For rocotos, it might be needed to use even 40-50c.
Adjust the temperature with the heater element adjust on the cabinet (front, low) and by opening the valve on the top of the cabine.
Remember you need to get the moisture out!
After a day, I was able to taste some dried pods.
Which were almost black because of the heavy smoking!
This is normal with _heavily_ smoked chiles when they dry.
I will make the next batch much less smoked after I know now the great capabilities of this smoker!
Here’s how they look:
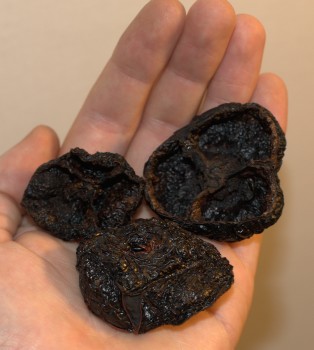
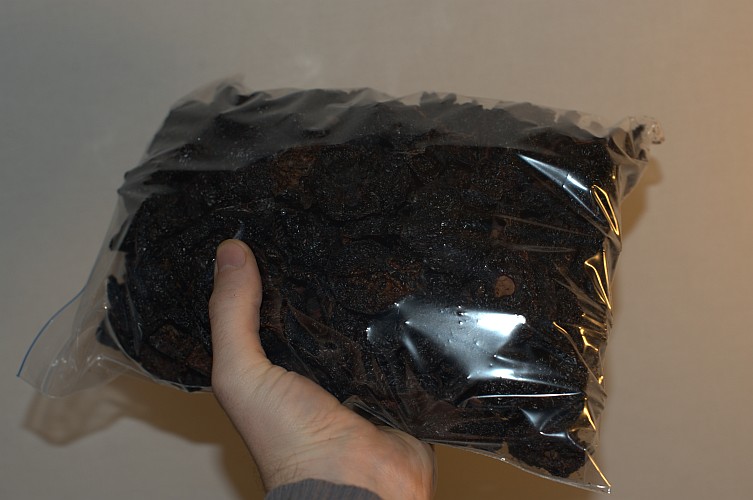
After few hours later, The whole batch of red peruvian rocotos were completely dry.
At this point, I collected them into a tight plastic bag:
By using a coffee grinder like the one shown on the picture below, I grinded these rocotos into a fine powder.
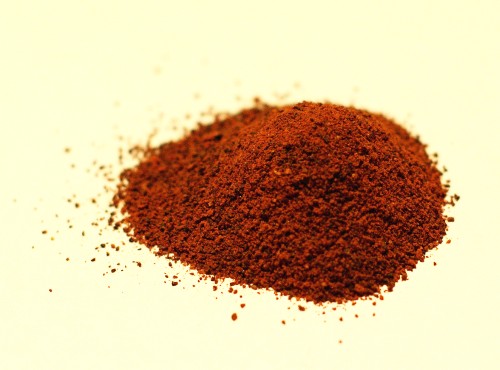
After tasting it.. and judging it in a category: heeavy-smoked rocotos, I’d give this result 10 out of 10 points!
Usually it takes days to get results like this!
Absolutely GREAT and super strong hickory-rocoto taste! All these years looking for a compact smoker!
Here’s comparisoment between Red Peruvian Rocoto and how much smoked powder comes out of it:
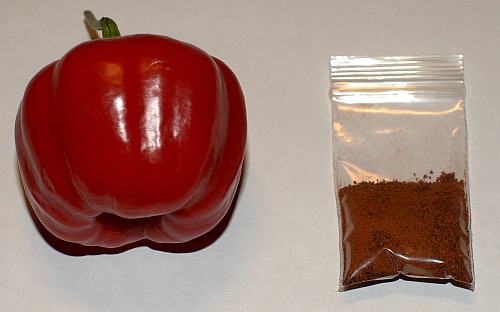
Rocotos give you a nice amount of powder compared to many other varieties.
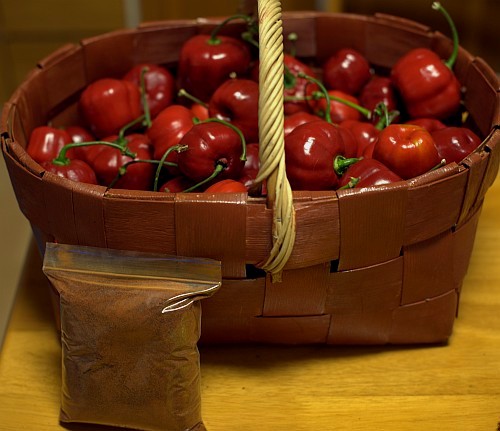
And here’s the 5 kilos of fresh rocotos and same amount smoked and dried.
Turned into 500g.
If you find this article useful or interesting in any way,
please let me know and I will publish more articles like this about smoking chiles or
using these smokers in different ways.
https://www.flavonia.fi/
Visitors from other countries should check this link:
https://www.bradleysmoker.com/
Highly recommended by:
Get the best varieties for smoking and samples to taste!
Seeds for the best varieties: fatalii.net/seeds
